


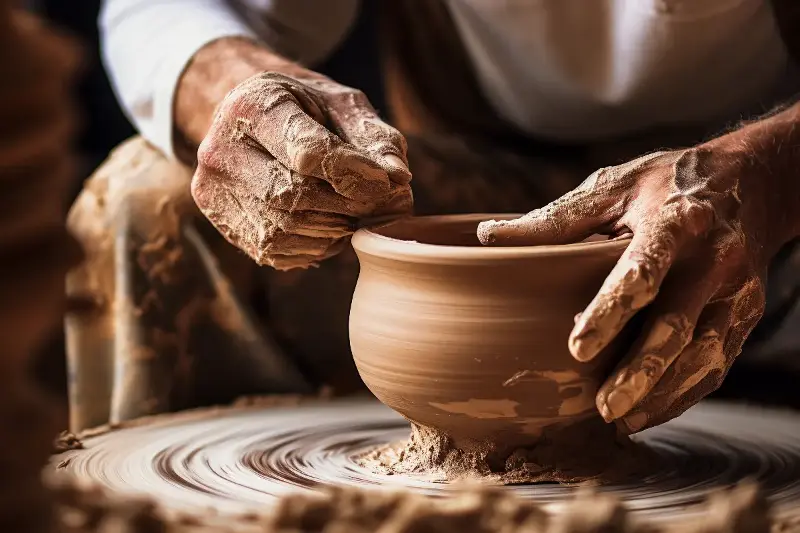
Freshly made pottery can look sturdy enough to survive anything, yet clay is surprisingly unforgiving when rushed. A bowl may crack overnight, a handle may detach after firing, or a mug may split inside the kiln. These failures can feel mysterious, but most are caused by a few preventable beginner errors rather than bad luck.
The encouraging news is that broken pottery serves as one of the fastest teachers in ceramics. Every crack reveals key information about moisture, thickness, heat, trapped air, or material compatibility. By understanding why clay fails, makers can build stronger pieces and enjoy rewarding kiln openings.
Uneven Thickness Creates Structural Weak Spots
One of the most common beginner blunders is creating a piece with dramatically different wall thicknesses. Heavy bases paired with thin rims frequently occur in handbuilt bowls, mugs, and pinch pots. Because clay shrinks as it dries and fires, thick areas shrink far more slowly than thin sections. When connected areas dry at uneven speeds, tension builds until structural cracks form.
- Consistent target thickness: Aim for uniform walls of roughly 6 to 10 millimetres for standard handbuilt forms.
- Tactile inspection: Run fingers along the interior and exterior to feel for heavy patches, or use a needle tool to measure depth.
- Preventing base cracks: Compress the bottom of wheel-thrown pieces thoroughly with a rib tool to align clay particles and avoid curved base fractures.
Poor Joining Causes Detached Handles and Trim
Clay does not simply stick together because two damp pieces touch. Beginners often press on a handle, foot, or decorative element without preparing both surfaces. The attachment may appear secure while wet, but it typically loosens during drying or detaches completely in the kiln.
The most reliable approach is the classic score and slip method. Scratch both joining surfaces deeply to create texture, apply a generous dab of slip made from clay and water, and press the pieces together firmly. Blend the seam with a small coil or extra clay to ensure the joint becomes integrated rather than merely attached.
Equally important is matching moisture levels. Joining a very wet handle to a firm, leather-hard mug invites cracking because the two elements shrink at different rates. Once attached, cover the piece loosely with plastic so it dries slowly and uniformly.

Rushing the Drying Stage Leads to Stress Cracks
Drying is the phase where many promising pottery pieces fail. Clay holds a surprising amount of water, which must evaporate evenly. Placing a wet pot in direct sunlight or near a heater dries the outer surface long before the interior, creating severe surface stress.
- Embrace slow drying: Cover new work loosely with plastic, paying special attention to thin rims and delicate handles.
- Rotate pieces: Turn forms over once they can support their own weight so moisture leaves the base gradually.
- Support flat slabs: Place boards or absorbent surfaces under flat pieces to prevent warping when handled.
Trapped Air Bubbles Can Cause Kiln Damage
Small air bubbles inside clay expand rapidly when subjected to intense heat. If pressure builds faster than the material can release it, the piece can crack or fracture unexpectedly inside the kiln chamber.
Thorough wedging removes air pockets while ensuring consistent moisture throughout the batch. Spiral wedging or ram’s head wedging are highly effective techniques that prepare the clay for shaping. Additionally, never construct a sealed, hollow sculpture without poking a small vent hole to allow expanding air and steam to escape safely.
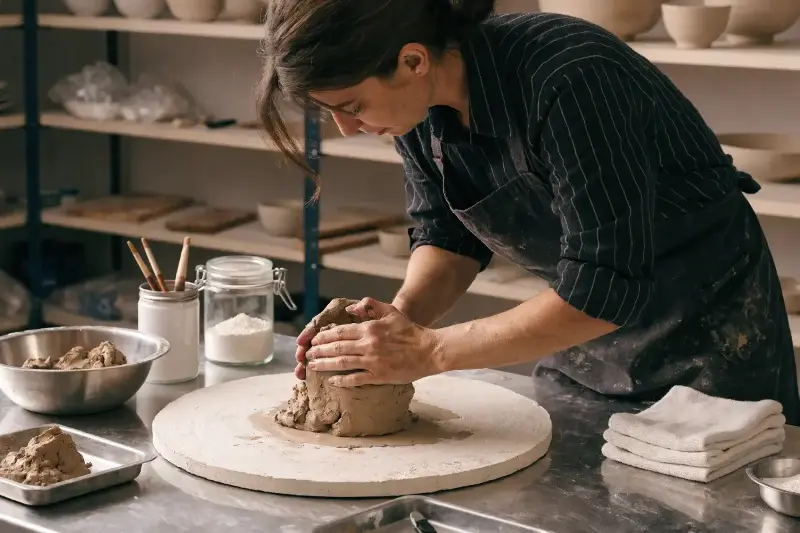
Firing Wet Clay Is a Costly Mistake
Clay must be entirely bone-dry before entering the initial bisque firing. Bone-dry clay feels room temperature against the skin, whereas damp clay still feels cool. If moisture remains inside, it turns into steam, creating internal expansion that clay cannot withstand.
Allow extra drying time for thick forms, enclosed structures, or humid studio environments. Utilizing a slow preheat cycle in the kiln can help draw out residual moisture, but it should never replace proper ambient air drying.
Glaze Incompatibilities Can Crack Finished Pieces
A piece may survive the initial firing perfectly, only to crack after glazing. Applying glaze too thickly creates excessive surface tension during cooling and can lead to crawling or blistering.
Furthermore, clay and glaze must have compatible expansion rates. If a glaze shrinks significantly more than the clay body as it cools, it creates severe tension that can craze the finish or shatter the pot entirely. Stick to clay bodies and glazes designed for the exact same temperature range to ensure success.