


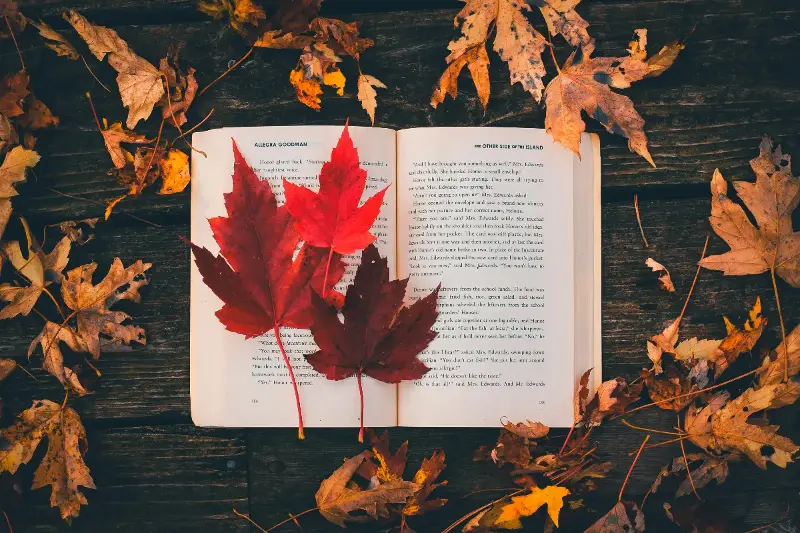
A single fallen leaf can hold the memory of a walk, a vibrant season, or a person who shared it. Pressing leaves and flowers turns these small natural treasures into lasting keepsakes that are both beautiful and deeply personal. The craft is simple enough for beginners, yet it offers endless room for creativity. With a few sheets of paper, a heavy book, and a little patience, a garden bloom or autumn leaf can easily become art.
People have preserved plants for centuries. Early botanists pressed specimens into books called herbariums, creating valuable historical records of plants from different places and periods. Today, pressing flowers still combines observation, creativity, and a quiet appreciation for nature. It is also a sustainable craft, as many suitable materials can be gathered during a peaceful walk or salvaged from a bouquet that is beginning to fade.
Choosing the Right Leaves and Flowers
The best plants for pressing are naturally flat or have thin petals and leaves.
-
Top choices: Pansies, violets, daisies, cosmos, ferns, clover, larkspur, and Queen Anne's lace usually press beautifully.
-
Striking shapes and colors: Autumn leaves from maple, birch, oak, and ginkgo trees create vivid designs.
-
Elegance: Ferns are especially popular because their detailed fronds look sophisticated in framed art and handmade cards.
Freshness matters immensely. Choose flowers at their absolute best, ideally after morning dew has dried but before the afternoon sun makes petals limp. Flowers that are too mature may shed petals, while damp plants can develop brown spots or mold during pressing. If a bloom has a thick center, such as a rose or peony, it is better to separate the petals before pressing so they dry evenly.
Color changes are part of the charm. Purple and blue flowers may become softer or darker as they dry, while yellow flowers often keep their bright color well. Red flowers can deepen into rich burgundy tones, and green leaves may fade toward olive or brown. These natural variations make each finished piece completely unique.
The Classic Book Pressing Method
The traditional method requires only absorbent paper and a heavy book. Follow these essential steps:
-
Prepare the layers: Place the leaf or flower between two sheets of plain paper, such as printer paper, blotting paper, coffee filters, or unprinted paper towels. Avoid glossy paper because it does not absorb moisture effectively.
-
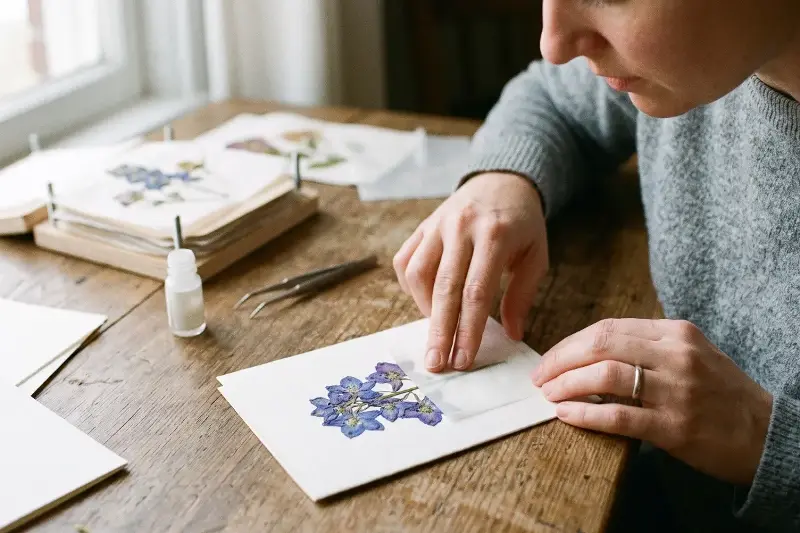
Arrange carefully: Spread petals and leaves neatly using tweezers or the tip of a fine paintbrush.
-
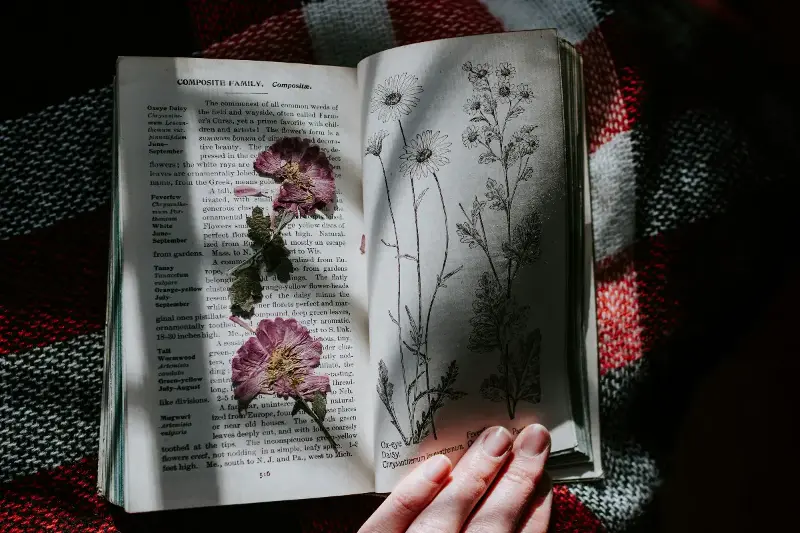
Apply heavy weight: Put the paper layers inside a large, heavy book, then add more books or a weight on top. To protect treasured books, place cardboard on either side of the paper layers.
Check the paper after several days. If it feels damp, replace it with fresh, dry sheets. Most flowers and leaves need two to four weeks to become fully dry, depending on their thickness and moisture level. The finished botanical should feel crisp and papery rather than cool or flexible.
Faster Ways to Preserve Natural Beauty
For crafters who do not want to wait weeks, alternative methods can speed up the process significantly:
-
The Microwave Method: Flowers are placed between absorbent paper and two microwave-safe ceramic tiles or pieces of cardboard, then heated in short bursts. Care is required: overheating can cause petals to turn brown or brittle, so heating for ten to twenty seconds at a time is safest.
-
The Iron Method: Place a flat leaf between sheets of paper and gently press with a dry iron on low heat. Never use steam, as added moisture works against the drying process. Let the leaf cool between short presses.
Even when using heat, allowing the plant to air-dry briefly afterward helps ensure it is fully preserved, as a bloom that appears dry on the surface may still contain hidden moisture in its center.
Creative Projects With Pressed Botanicals
Pressed flowers can instantly make ordinary objects feel special. A simple framed arrangement can become eye-catching wall art, while a single fern leaf looks refined against cream paper. Clear floating frames are especially popular because they allow light to pass through delicate petals and veins.
Consider these beginner-friendly projects:
-
Paper crafts: Greeting cards, bookmarks, gift tags, and journal pages are ideal starting points.
-
Handwritten notes: A pressed violet on the corner of a note creates a thoughtful detail that cannot be duplicated by store-bought designs.
-
Protective finishes: Transparent laminating sheets protect bookmarks, while clear-drying glue or double-sided adhesive works well for cards.
Pressed plants also make meaningful memory pieces. Flowers from a celebration, birthday arrangement, or memory garden can be preserved in a frame or scrapbook. Labeling the finished work with the plant name, location, and date adds a lovely documentary touch that makes the keepsake even more valuable over time.
Protecting Your Finished Keepsakes
-
Guard against sunlight: Direct light is the main enemy of pressed plants and causes colors to fade quickly. Display botanical art away from sunny windows, or use frames with UV-protective glass.
-
Prevent moisture damage: High humidity can cause mold, curling, or discoloration. Keep finished pieces away from damp rooms, and place silica gel packets near stored materials in dry boxes or folders.
The beauty of this craft lies in its gentle pace. It encourages us to notice the subtle shape of a leaf, the fine lines in a petal, and the fleeting colors of a changing season, preserving small reminders of beauty long after the original bloom has passed.